In this article I present two tools that help you with a Docker image diff or Docker image analysis: “dive” and the slim.ai Docker Desktop extension. I explain use cases for which you need these tools, and I show screen shots that illustrate their usage.
Introduction
Docker images (or more generally: OCI images) have become a standard packaging format for cloud-based software. As someone who works in “DevOps” (e.g. CI/CD automation), you sometimes need ways of deeply analyzing an existing image – be it your own image or someone else’s. You might have questions like “why is this image so big (or small)?”, or “how has this image changed, compared to the previous one?”.
Recently, new tools have emerged that help you answer these questions. Let’s take a look at them, but first we should understand why we need these tools.
Use cases for a Docker image diff or Docker image analysis
Having worked with Docker images (and their optimization, see this blog post series) for several years, I encountered the following use cases, where analyzing images (or their difference) was necessary:
- Understand how an image has evolved over time, comparing two different image builds. Exemplary use cases are:
- A problem in production occurred, where suddenly some library files are missing in the newest image: if you don’t know what these files are, you try to determine why these files existed (in the old images) in the first place. Which layer and which command created these files?
- Your image size has suddenly increased significantly, without any apparent reason (“I did not change anything!!”). What caused the image to grow?
- Debug differences between the output of different image builders: you found out that a container behaves differently, depending on the image builder that was used to create it: e.g. BuildKit-based builds behaved differently than Podman/buildah-based builds, which is unexpected.
- Reverse-engineering of tools: you need to understand what files are changed by certain tools/commands under the hood. Concrete example: I wanted to figure out the storage location of the Gradle cache, when Gradle is run in a build container of a specific Linux base image, with a specific Linux user. By analyzing the corresponding image layer, I figured out how “
gradle --help” differs from “gradle help“. See thisDockerfileand this blog post for the use case details. - Guide your choice of a base image: there are often many base images to choose from, especially in the area of language runtimes. Should you prefer
python:3.9-slimoverpython:3.9-alpine? Oribm-semeru-runtimes:open-11-jreoveribmjava:11? You need to understand how two “unrelated” images (not built from the same source) are different – not only in their file size, but also how their structure and contained files differ. - Image optimization: to reduce the size of your image, you need to look at the different layers, to identify waste.
Docker image analysis with dive
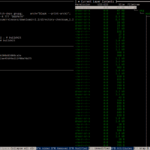
dive is a CLI/terminal-based tool that lists the layers of an image. For each layer, it shows the command that created the layer, and the added size (in bytes).
dive only supports keyboard input. The window is split into a left and right half, and the available keyboard shortcuts (shown at the bottom) depend on which view is active. You can switch between the left and right view using the tabulator key.
At the beginning, the left half is active, which lets you navigate the image layers, using the arrow-up/down keys. The layers shown by dive are reconstructed from the image’s meta-data. They may not exactly correspond to the original Dockerfile used to create the image. Most notably, the first layer won’t be “FROM some-base-image” but instead multiple layers are shown that describe how that base image was built.
Once you have selected a layer of interest, switch to right view (tab key). You can now use the arrow-keys to navigate the directory structure of the currently selected layer. The space key collapses/uncollapses the selected directory. By using the shortcut “control key + A” (or replace A with R, M, U or B) you can toggle which kinds of files you want shown. I usually press control + U to hide the unmodified files – I only want to know which files a layer added, changed or removed. The screenshot above shows that the layer for the command “go mod download” fills the Go package cache located at /go/pkg/mod with a total of 47 MB worth of files.
Unfortunately, dive has not been updated in over a year, and it seems that the tool is dead, so it may stop working at any time. At least for now, however, it can still be used.
Docker Desktop Extension for dive
There is a new Docker Desktop Extension called “Dive In” that has the same features as dive but offers a real GUI with mouse input. You can find out more details here.
Analysis and diff with slim.ai’s Docker Desktop extension
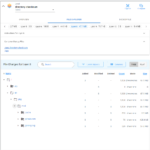
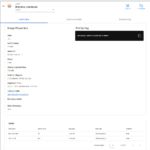
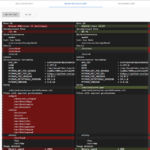
After installing the slim.ai extension from the Extension Marketplace in Docker Desktop, it shows the list of local images. When you click on Explore for the image that was analyzed above with dive, you see an image such as this:
Unlike dive, the slim.ai Docker extension is a real “GUI” that supports mouse input.
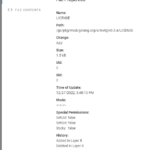
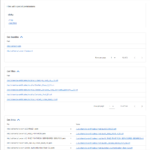
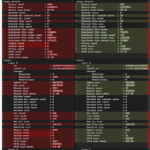
As the following gallery illustrates, the image analysis feature of the slim.ai extension is far superior to the one of dive:
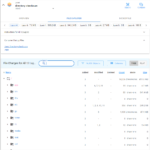
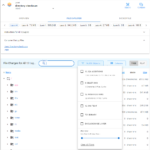
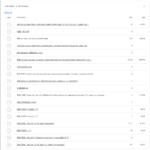
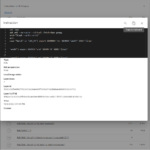
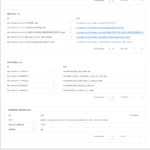
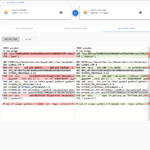
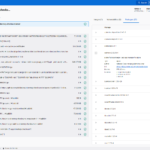
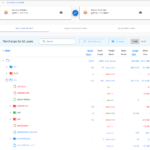
The slim.ai Docker extension also let’s you diff images. Simply click on the “Compare” button of the first image, and then on the “Compare” button again for the second image. The following gallery shows the resulting image diff view of the slim.ai extension, illustrating the diff between python:3.9-slim and python:3.9-alpine:
The only downside of the slim.ai extension is that it is somewhat unstable, at least on Windows where I have been using it for a while. However, it is definitely usable.
Technically, it should also be possible to use Docker Desktop extensions in Podman Desktop (see here). Unfortunately, when I tested it, the slim.ai extension did not work in Podman Desktop, for unknown reasons. By the time you read this, things might have improved, though.
Conclusion
It is important to know when and how to deeply analyze (or compare) Docker images. In my opinion, the tool ecosystem has finally become mature enough to complete this task. Still, it is interesting that there are only two tools on the market.
For completeness, I should mention that the Docker Desktop Dashboard window also shows the reconstructured Dockerfile, with the file sizes of each layer, a security scan, and an overview of all Linux (or other) packages. But it lacks further introspection capabilities, such as looking at the contents of each layer.
How do you debug problems with Docker images? Did you have other use cases than those presented in this article? Please let me know in the comments!

