This article offers several tips for tweaking the build speed of Docker images in CI pipelines. I explain multiple caching-tricks offered by BuildKit, Docker’s integrated image build engine. I also elaborate on how the .dockerignore file and extra arguments to package managers such as apt can speed up your image builds.
Originally posted on 2022-01-23, updated on 2024-06-10.
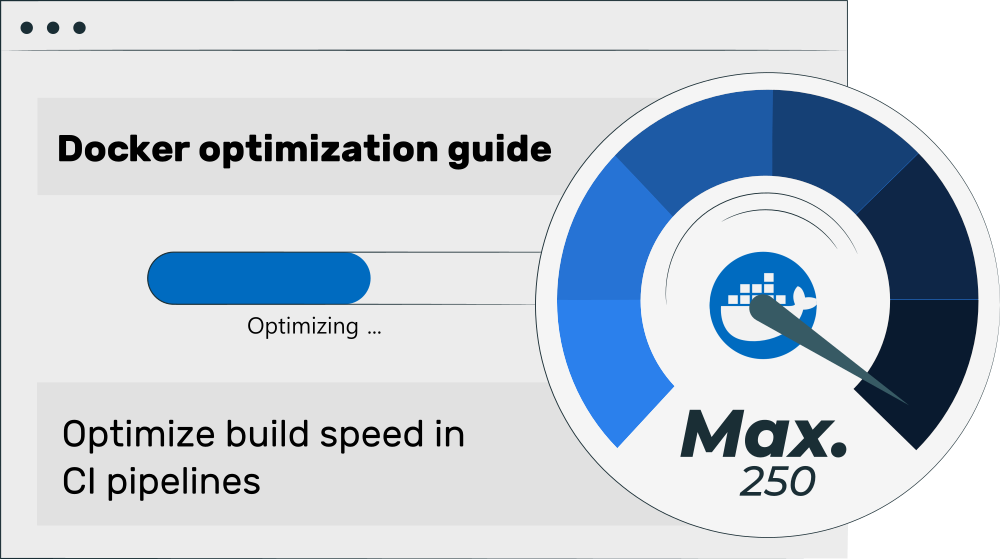
Docker optimization guide series
This article is part of a multi-part series on working with Docker in an optimized way:
– Optimize Docker development speed
– Optimize Docker image build speed in CI (this article)
– Optimize Docker image size
– Optimize Docker image security
Introduction
As further explained in my CI/CD Basics article, CI/CD pipelines fully automate tasks such as building, testing and deploying your software. Instead of running these tasks manually, on a developer laptop, you have them executed on a server all the time, whenever a developer pushed some code.
If one of the steps in a CI/CD pipeline is to package your application as Docker image (and push it to an image registry), you may have noticed long build times. In this article, I present several tips for tweaking the docker build command, so that building becomes fast, which improves the feedback time for your developers.
Use multi-stage builds
Multi-stage builds allow you to define multiple Docker images (which build upon each other) within the same Dockerfile. This speeds up image building in those scenarios where only some steps of the image-build are slow, e.g. compiling a large third-party component, when these steps don’t need to be repeated every time. With multi-stage builds, you can extract these slow steps into a separate helper base image #1, which is used by your (frequently re-built) run-time image #2. This speeds up the build speed of image #2, because a cached version of image #1 can be used. The official manual offers an excellent introduction into multi-stage builds.
Note: another optimization technique is caching, presented in the next section. When you use multi-stage builds, you also need to push the earlier stages (image #1) for the caching to work. See this article for details.
Use BuildKit’s caching features
BuildKit is the component that actually builds your Linux-based images under the hood, when you run docker build. Support for Windows-based images also exists since March 2024 but is experimental (see docs).
The main advantages of BuildKit are (over Docker’s “legacy” builder):
- It runs those steps in parallel which can be run in parallel (which speeds up e.g. multi-stage builds)
- It supports build secrets (see docs), which avoids that secrets end up in the final image. Instead, secrets are just made available in the container/image temporarily during the build process. I go into further details in this article of this series.
- It supports exporting individual image layers to an external cache backend, such as an image registry, instead of only relying on the local layer cache (see arguments
--cache-fromand--cache-toin the docs). This massively improves the build speed in case you have multiple CI pipeline runners. When runner #1 builds and pushes the image (and is configured to also export the cache layers), runner #2 can detect (for each layer) whether it really needs to re-build it: runner #2 no longer just consults its local cache, but retrieves cache-metadata from the cache-registry, and can, on a cache hit, just download the already-built layer(s) from the cache-registry. - It supports mounting cache-directories (docs) from the host into the build-container for specific
RUNstatements (e.g. “RUN --mount=type=cache,target=/some/path,id=some-id <command>“). The cache is managed by BuildKit. This is useful to temporarily mount cache directories of package managers, such as pip, npm or apt/yum/etc., which are shared between consecutive image builds.
The general steps to use the caching features are as follows:
- To use BuildKit’s layer caching feature (which speeds up builds when having multiple CI runners), you can either use the inline caching (docs), or export to dedicated cache backends, such as an image registry. The latter approach is much more powerful. I recommend you check out this article about BuildKit tipps in detail, where I run through a full example.
- To use the temporarily-mounted cache directories (to speed up re-building layers that use package managers such as apt or pip), you need to adapt your
Dockerfile, as I’ve explained here in this article series.
Tune your CI infrastructure
To make the most out of your build speeds in a CI pipeline, you need to make sure that BuildKit has a fast and persistent local storage (for its local cache), and/or properly uses remote caching. See this blog post for details.
Use .dockerignore files
The .dockerignore file lets you specify files that should be excluded from the image building process. My previous article presents the concept in detail here. This greatly speeds up local Docker image building (because it omits folders such as “.git”), but your build pipelines can also benefit in case your repository contains larger files or folders that don’t need to be included into the image (after all, your build pipeline may also clone the source repository and thus have a “.git” folder).
Limit installed packages
Some package managers install additional “recommended” components along with those components you explicitly specified. This slows down the installation and consumes (often) unnecessary disk space. You can avoid this as follows for some package managers:
- For Debian/Ubuntu:
apt-get install -y --no-install-recommends <list of package names to install> - For RPM-based systems such as RHEL or CentOS:
dnf -y install --setopt=install_weak_deps=False <list of package names to install>
Use cross-compilation for multi-platform images
Sometimes, the CPU architecture of the build agent does not match the CPU architecture of the image you want to build. The most typical scenario is when you build a multi-platform image (docs), where you use e.g. an Intel CPU-based build agent to build an image targeting both Intel CPUs and ARM64
(e.g. via “docker build --platform linux/amd64,linux/arm64 .“).
As the docs explain, BuildKit by default uses CPU virtualization (with QEMU) to solve this discrepancy of CPU architectures. Referring to the above example (building an image for amd64 (Intel 64-bit) and arm64), that means that BuildKit runs two Dockerfile builds in parallel: one build for the amd64/Intel CPU (running at “native” speed), and one build for the ARM64 CPU (running in the QEMU virtualization). The execution speed of the latter build is extremely slow for any CPU-heavy tasks (like compiling software), and it also involves additional network traffic (because BuildKit needs to pull the base image twice, once for each CPU architecture.
By using cross-compilation, you can achieve a massive improvement (easily by a factor of 30), assuming that your compiler toolset supports cross-compilation. In simplified terms, cross-compilation means that you use a compiler that can build binaries (e.g. DLLs or executables) not only for the CPU architecture of the compiler (which matches the CPU architecture of the machine the compiler is running on), but also for other CPU architectures (here: ARM64).
Assuming that you have such a compiler, your Dockerfile becomes a multi-stage file that has the following conceptual structure:
# We create a dedicated stage named "build" and tell BuildKit to definitely use the platform of the
# build agent ($BUILDPLATFORM), so that all steps in that stage perform at native speed.
# We essentially tell BuildKit to ignore the "target platform(s)" that was provided in the
# "docker build ... --platform=..." command.
# Note: BuildKit populates the value of $BUILDPLATFORM automagically.
FROM --platform=$BUILDPLATFORM language-runtime:version AS build

# BuildKit fills the TARGETARCH value automatically, e.g. "arm64" or "i386" or anything else that
# comes after the first forward slash of the different platform strings explained here:
# https://docs.docker.com/build/building/multi-platform/
ARG TARGETARCH

WORKDIR /app
COPY . .
RUN compiler-tool --architecture=${TARGETARCH}
# Note: suppose the compiler produces a binary "final.bin"

# The runtime stage uses the target(!) CPU architecture that was given to the "docker build" command
FROM language-runtime|scratch:version as runtime
COPY --from=build /app/final.bin /final.bin
CMD ["/final.bin"]
Code language: Dockerfile (dockerfile)
The compilers of various programming languages support cross-compilation, such as:
For Rust, C/C++ and Go, take a look at the xx project, which provides various helpers to make your life easier.
Also, for “binaries” that are actually just cross-platform-compatible byte code, you can use the cross-compilation approach as well. One example would be Java’s “jar” files, assuming they do not contain any native binaries.